Developer Tricks: Part One

Developer Tricks: Part One Using Rotating Images To Display Lenticular Holograms (Part One)

One of the most profound challenges in contemporary web design is the ability to catch and maintain people’s attention. Scripts, graphics and tricks which once made the general public do double-takes are now considered standard, even boring…thus only through constant innovation and creation can sites continue to hold the attention of an increasingly web-savvy world.
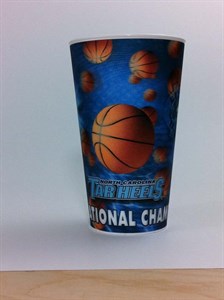
BlueTone Media recently had a chance to work with Spirit Cups, a company which creates easy, successful fundraising campaigns for various organizations through the sale of cups. These cups are printed with high-quality lenticular images, known colloquially as “holograms”. But how could we convey the awesome morphing effect of the images on the cups? A single photograph would only depict one point of the hologram’s action, so we needed to figure out a way to show the entire product and give the viewer a full perspective.
A bit of internet research showed that, as far as we could find, nobody had used rotating pictures to display the potential of round lenticular images, which is exactly what we decided to do. However, a little further digging revealed that the toolsets and techniques usually employed by photographers to create rotating images included special mounts, lighting setups, cameras, and other equipment well beyond a reasonable budget, with the average solution costing around $2000.
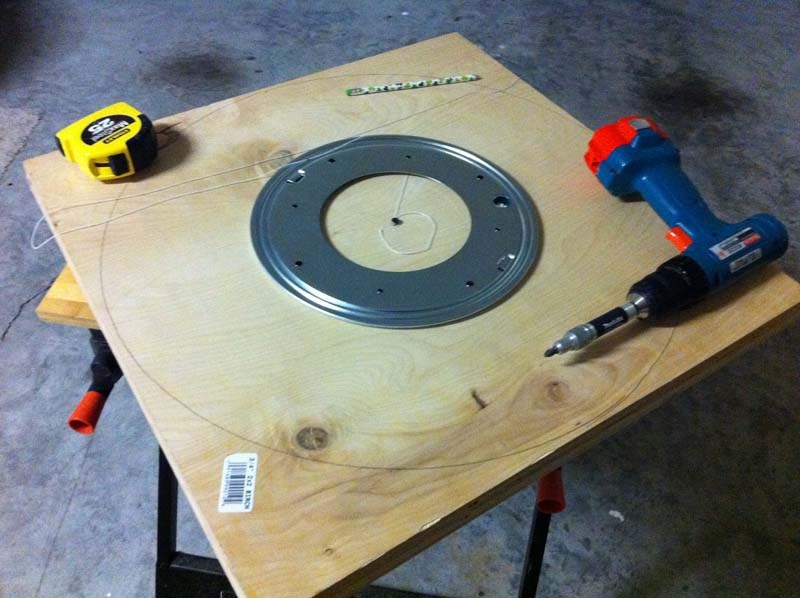
We knew there had to be a more efficient way to achieve the same results, so we got to work on building a reasonable, affordable solution that would let us take the pictures necessary to create a full-perspective image which detailed each cup's graphics and movement. With a little creativity and DIY know-how, we ended up accomplishing the project for about $100 using only some wood, a Lazy Susan, some lights, and Jimmy's iPhone, ending up with a fully interactive, 360° rotating display of the cups that easily on par with far more expensive solutions. After we gathered the images we needed only a few simple programs and scripts to get everything tied together and web-ready. The results were both exceptionally effective and deceptively simple, and we'll be showing you exactly how you can do it as well in our next post.
Want to know how we did it? We’ll be posting step-by-step instructions complete with links to the necessary resources in the next few days. Come back and find out!
BlueTone Media recently had a chance to work with Spirit Cups, a company which creates easy, successful fundraising campaigns for various organizations through the sale of cups. These cups are printed with high-quality lenticular images, known colloquially as “holograms”. But how could we convey the awesome morphing effect of the images on the cups? A single photograph would only depict one point of the hologram’s action, so we needed to figure out a way to show the entire product and give the viewer a full perspective.
What Did We Do?
A bit of internet research showed that, as far as we could find, nobody had used rotating pictures to display the potential of round lenticular images, which is exactly what we decided to do. However, a little further digging revealed that the toolsets and techniques usually employed by photographers to create rotating images included special mounts, lighting setups, cameras, and other equipment well beyond a reasonable budget, with the average solution costing around $2000.
We knew there had to be a more efficient way to achieve the same results, so we got to work on building a reasonable, affordable solution that would let us take the pictures necessary to create a full-perspective image which detailed each cup's graphics and movement. With a little creativity and DIY know-how, we ended up accomplishing the project for about $100 using only some wood, a Lazy Susan, some lights, and Jimmy's iPhone, ending up with a fully interactive, 360° rotating display of the cups that easily on par with far more expensive solutions. After we gathered the images we needed only a few simple programs and scripts to get everything tied together and web-ready. The results were both exceptionally effective and deceptively simple, and we'll be showing you exactly how you can do it as well in our next post.
Want to know how we did it? We’ll be posting step-by-step instructions complete with links to the necessary resources in the next few days. Come back and find out!

